


Seriously, this man has been my "Forever Always" since the day I put my eyes on him in 1985. He walked into my computer class in high school, and this shy sophomore was instantly swept away by this obnoxious fast talking senior. Five years later, we were married and three years later we had our first child. Here we are, after thirty years, still so much in love, and I can not imagine my life without him. He is literally my world! OK enough mushy stuff.
Well, this was the first year that we actually went out for New Year's Eve in decades! Bonus was this was also the year that I fit into a SIZE 12! YEP - confession last year I was in a size 18 so I wanted to step out on the town in my high heels looking HOT! Irony - we were all caught up in the moment, NO ONE EVER SNAPPED A SHOT of my outfit except the one above. LOL, sometimes we just have to go with what we have, right! It is ok, I have the moment in my head, and at least I have a photo of that smile on my face!
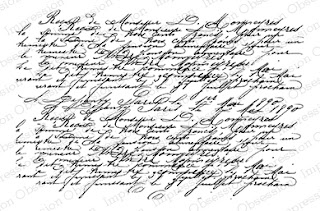
For my layout today - I chose to use these awesome stamps from Yvonne Blair and Impression Obsession. As Always, check with your local retailers first, but I've linked them up on the IO Stamps site for your convenience.

I dug into my hoard vault and pulled out Teresa Collins' Tinsel & Co. Collection Stars Paper for my Layout base. I used the Chipboard stars, and the stars from the Ephemera pack as well. Then I used some of her boarder strips from the Memorabilia line since they were glittery. I encourage you to go into your hoard vault, and see if you have products that you have been storing up that could be used for some of your layout designs. We did after all purchase them for a reason, right! The best way to hoard them is to use them for a project for ourselves.

When printing my photo, I left a bit of a border so I could cut it Polaroid style. In the video below, I will share with you how I stamped Yvonne's image onto washi tape. Allowed it to dry, then placed it directly onto my photo. I love how clean this looks on my photo. I will be using this technique again. You do need to be careful when stamping since the washi has a slick surface and the stamp will slide if you press too hard. Also, be sure to use a permanent ink like staz-on or archival by Ranger.

In the photo above, you can see how the French Script stamp was used to lightly add texture around the layout on the ephemera pieces and velum edges. You can click the photo to enlarge them and see greater detail. I also scattered a few rub-ons from the Tim Holtz botanical collection to add more visual interest to the vellum and create the illusion of printed paper.

I started to use paint to create the gold effect, but I'm so glad I reached for the recycled gold tissue paper instead. It was left over from packaging that I had received at Christmas, and I love how delicate it looks peek-a-booing out from around my vellum layers. I'm glad I saved it. Also, I love that the French Script stamp added life to the flat ephemera stars. A little bit of platinum Stickles also gave a little life to those chipboard pieces, and a sprinkle of confetti stars add sparkle, as well, to this flat layout. To finish it off, a few splatters of Heidi Swapp's Gold Color Shine was just what this layout needed to call it finished.
Here is a video showing my process
I wrote my journaling on the tag that is tucked into the left hand side and slipped it behind the photo. It talks about our evening. There was no need for it to be visible. The title was one that I had hand drawn in a previous video, and was in my bucket of one hit wonders. It seemed to fit my theme so I added it over the border flags. I drew it with a brush pen. The ink was not permanent so I didn't add splatters of gold to it. Here is a view of the finished layout.
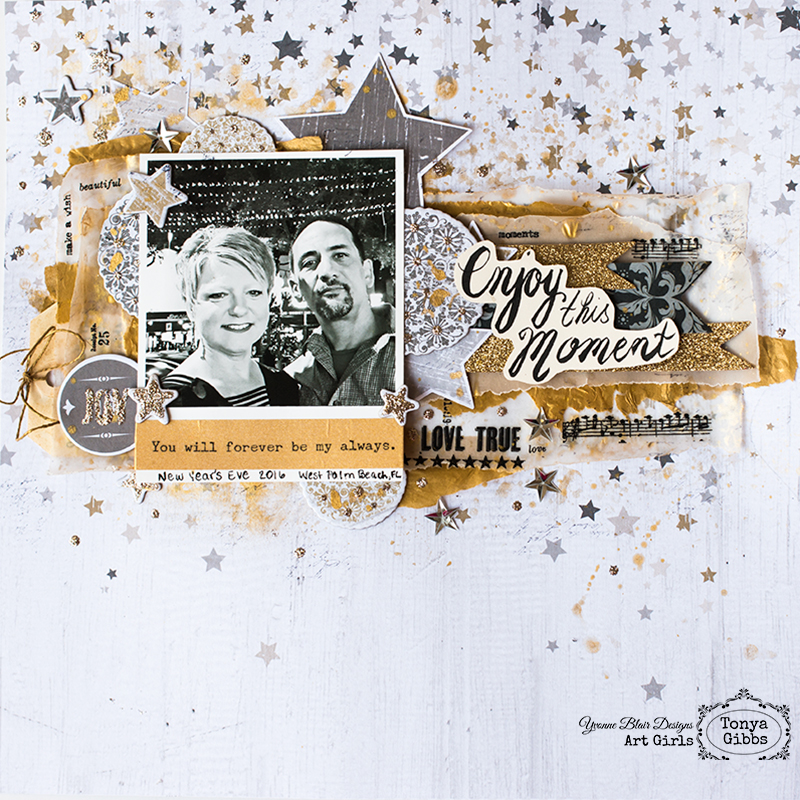
This layout reminds me so much of the glitzy downtown streets of West Palm Beach where we spent New Year's Eve. I had such a great time that night and it was fun to create this layout. I guess I was holding on to this paper for just the perfect time, and I'm glad I finally found used it. I love the richness that the monochromatic color pallet adds to this layout. If you are hoarding a paper collection, I encourage you to use my layout as inspiration to create something this week!
Thanks for hanging out with me today.


No comments:
Post a Comment